*Updated 2022
Getting started can be the hardest part of a fitness journey. If you’ve downloaded the ASICS Runkeeper App, you’ve taken a great first step! Read on for tips on how to make your first experience with the app as smooth as possible.
Start here
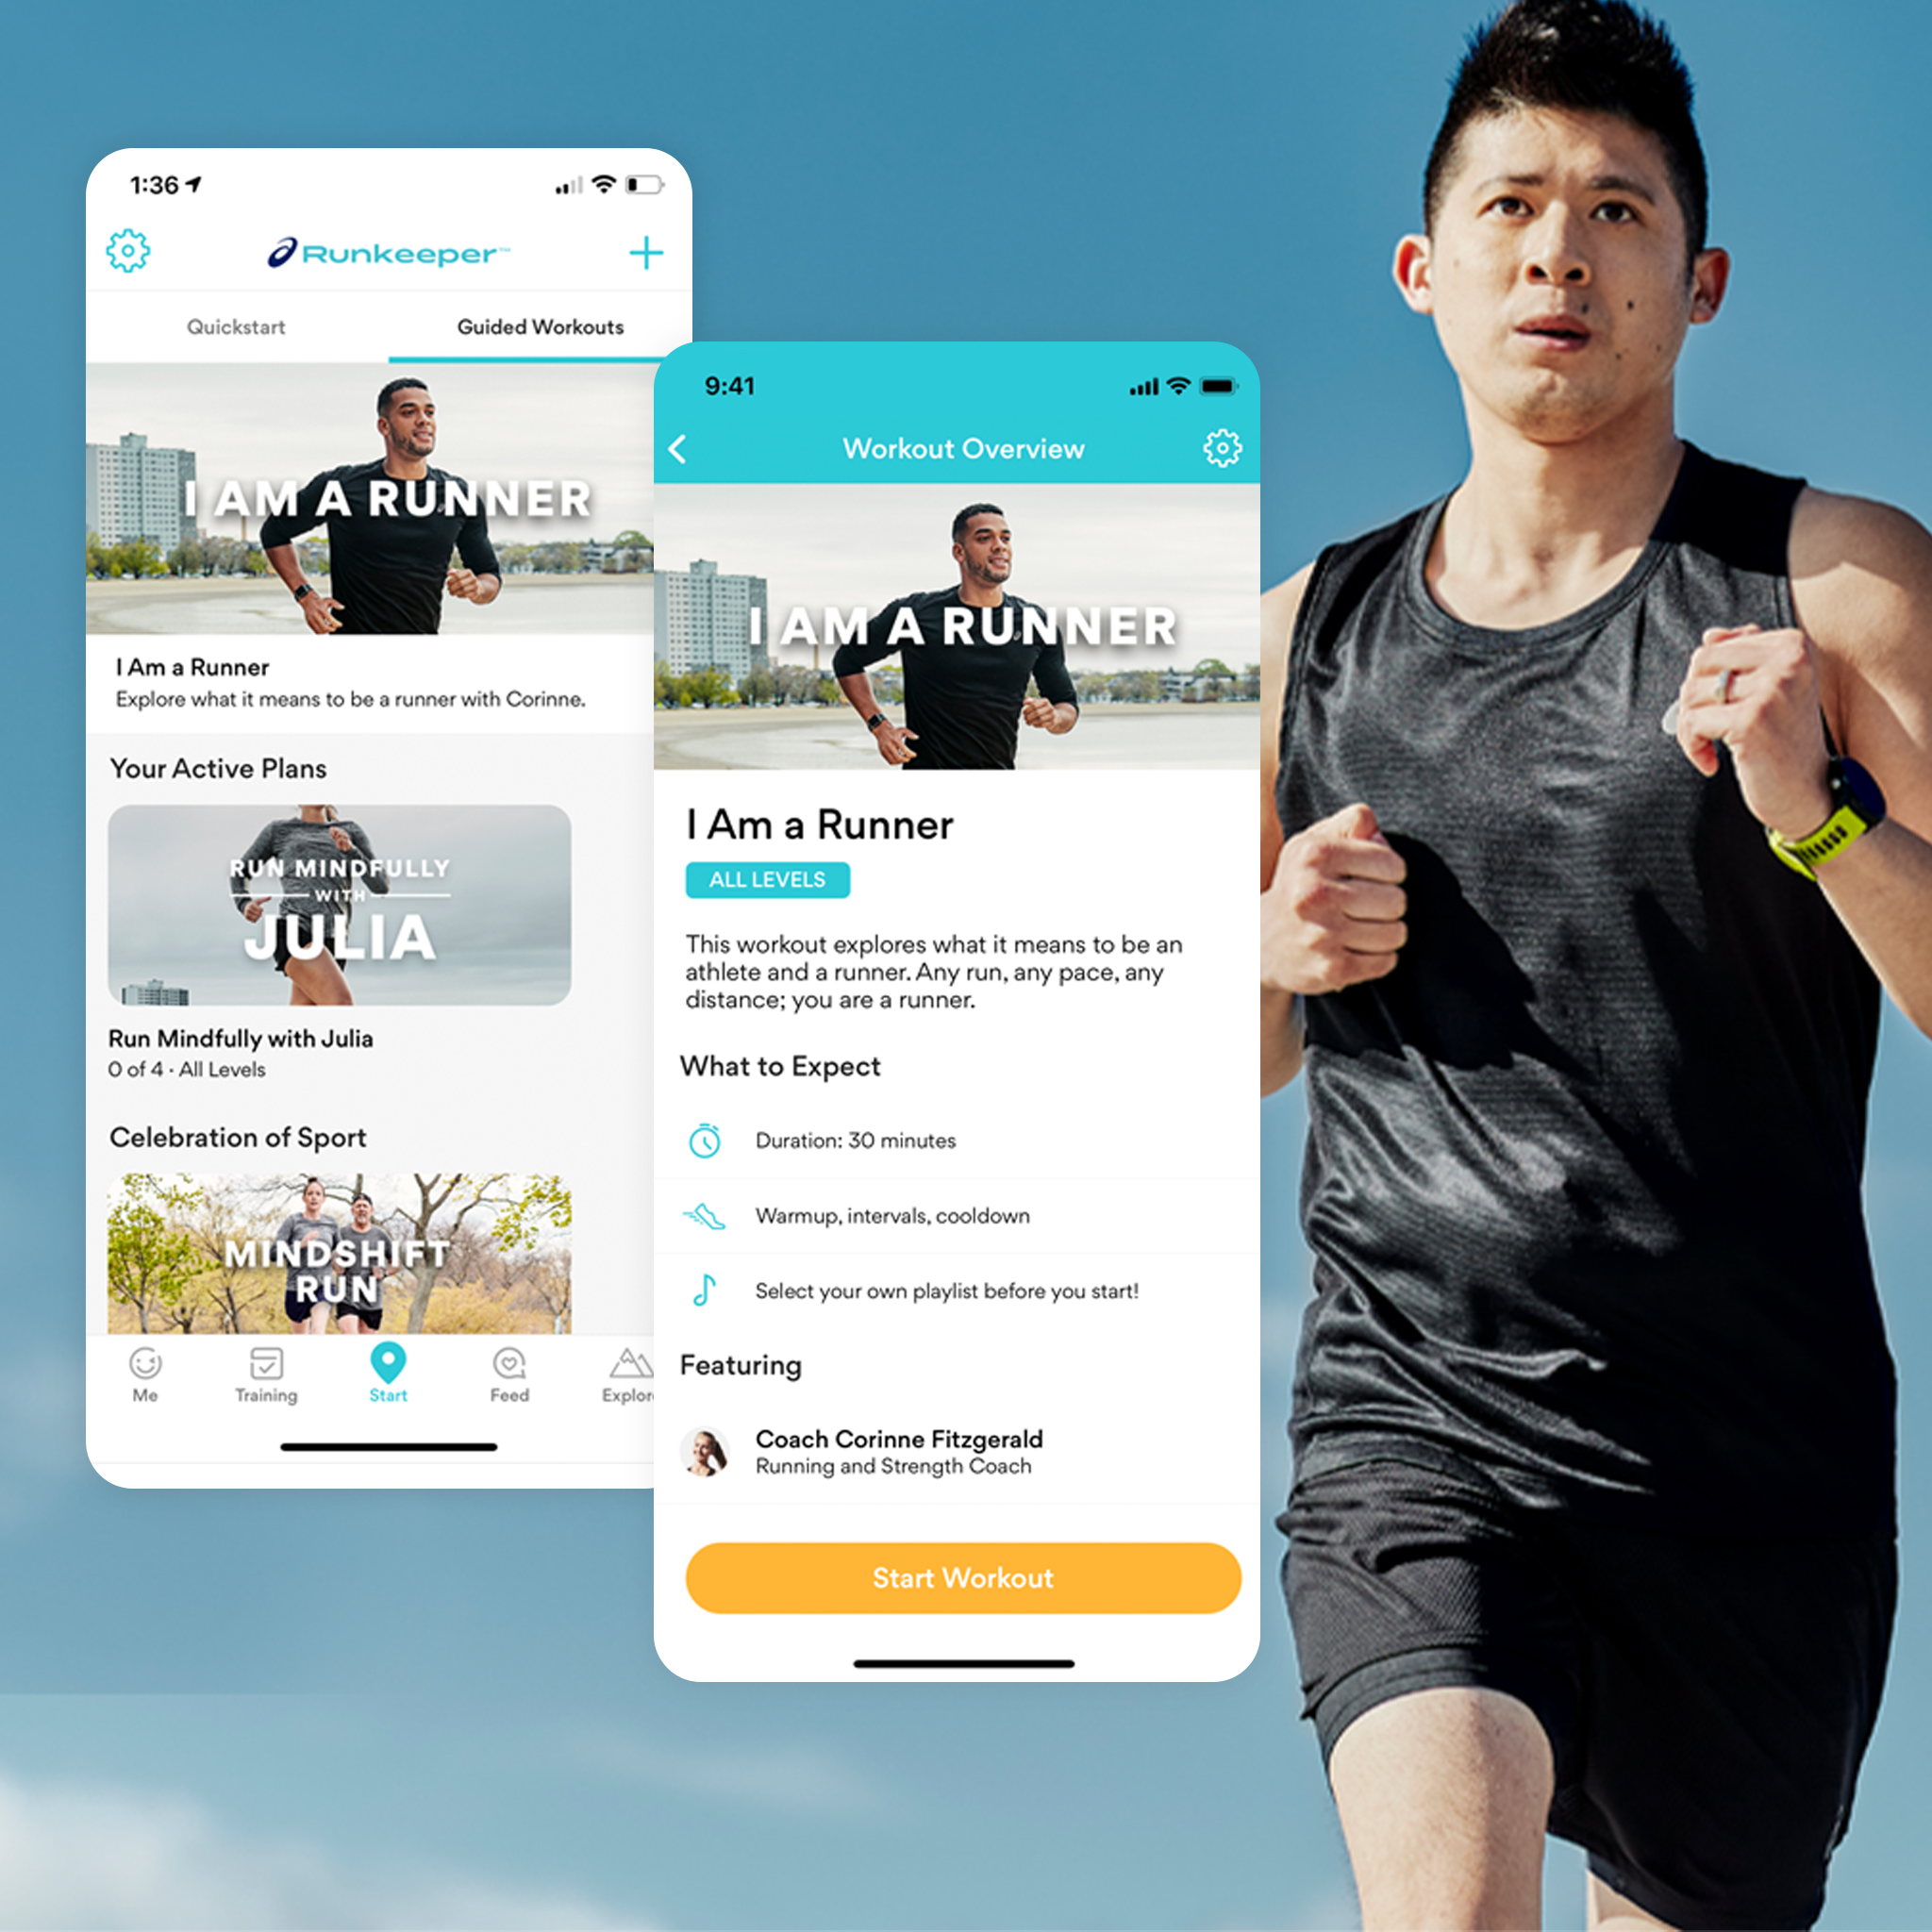
Once you’ve created an account and logged into the app, get acquainted with the Start tab, where all the magic happens. For an overview of the different tabs in the app, check out this article.

Choose your tracking mode
Make sure your app is in the right tracking mode. Are you running outdoors or indoors? The Runkeeper app can accommodate both!
- Indoor runners: If you run on a treadmill or indoor track, you’ll want to use Stopwatch Mode.
- Outdoor runners: You’ll want to use GPS mode. Click here to learn how to get the best GPS results.
- If you’re running on an outdoor track, which mode to use is up to your personal preference. We polled some of our coworkers who are avid runners and they see pros for both. On a track you don’t necessarily need GPS because you know how far you’re running, and if you’re doing intervals, you’re probably more interested in your time for each rep. However, GPS is helpful to give you a complete picture of how many miles you’ve covered each week.
Tips:
- Forgot to track with the app? You can manually enter the activity after the fact.
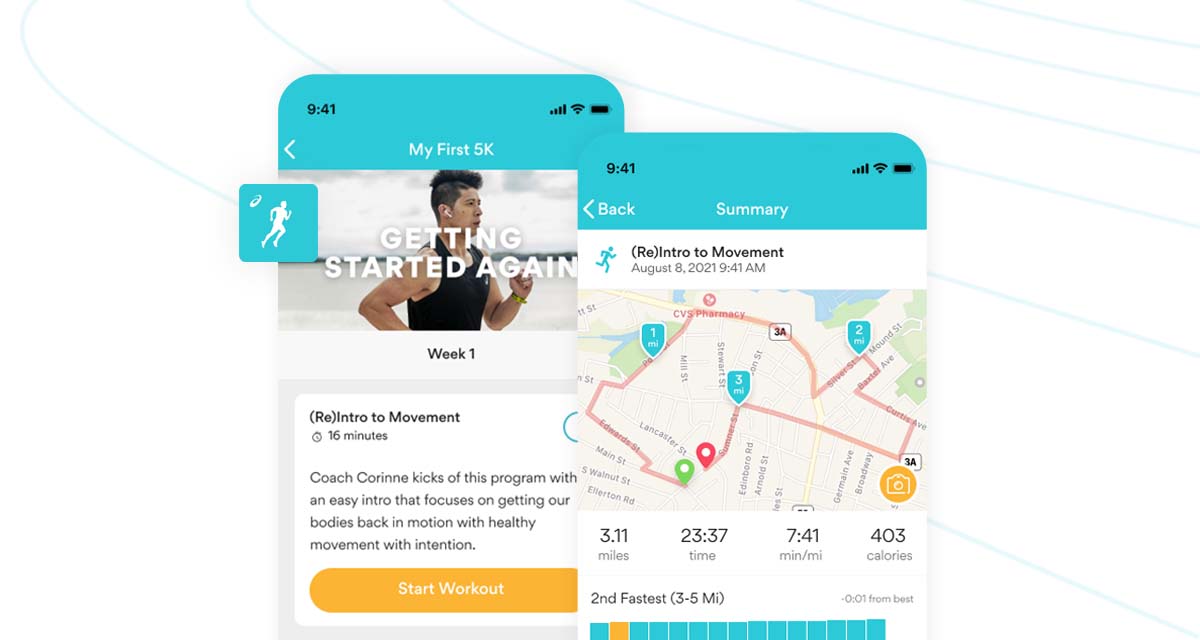
- You can do our Guided Workouts indoors or outdoors. Check out the My First 5K or My First 10K Guided Workouts; they’re designed for absolute beginners!
Select your activity
Next, select your activity type. We’ve got a lot to choose from, from running to yoga, pilates to hiking. And don’t worry if you accidentally selected “Walking” when you meant to select “Running” — you can edit your activity on Runkeeper.com. Simply log in and click the activity you want to update.
Personalize your experience
Lastly, we have some optional extras to personalize your trip:
- Choose which audio stats you want to hear during your workout.
- Select your music (or opt to use music outside of the app).
- Choose a route (you’ll have to have previously created one on Runkeeper.com).
- Select a workout from our pre-loaded list, create a custom workout (you can create an interval workout or set up a workout with a distance, duration, or pace goal), or select a workout from your ASICS Runkeeper training plan if you’ve enrolled in one in the app.
- Once you’ve set your preferences, tap the Start button and go!
En route
When you’re running, the activity screen will display:
- Distance traveled
- Time elapsed
- Current and average pace (or speed if you’re cycling)
You can also:
- Swipe left to see your activity map that displays real-time where you’re running, or a list of your split times by mile.
- Take a photo during your activity to document the trip! You can also add a photo later during the saving process or even after you’ve already saved your activity.
- Tap the pause button if you need a break—just be sure to hit resume when you’re ready to get moving again.
Save your activity
When you’re finished, tap the Pause button, then tap the Stop button. The next view is your Review and Save screen. Here you can:
- Select an emoji that conveys how the workout felt
- Name your activity
- Categorize your activity for easy referencing later
- Add a picture
- Add notes
- Adjust who can see your GPS map (you can make this private or make it viewable to everyone or friends only — review your privacy settings here)
- Add your heart rate (learn how to pair your HR monitor here)
- Specify which shoes you wore
- Tag a friend if you completed the trip with a fellow Runkeeper App user

Workout summary.
Here you can reference your stats including splits, as well as pace and elevation charts if you’re a Runkeeper Go user. You’ll also see a weather display.
Tip: You can refer back to all your activities from your Me Tab.
Share your activity (optional).
Tap the Share button in the top right corner and share your photo, map or stats graphic to social media.
More tips
Enhance your Runkeeper App experience with these support articles:
- Import your fitness data into the app
- Track your shoes’ mileage with the Shoe Tracker feature
- Adjust your privacy settings
- Explore different audio cue voices
More blog reads: